
Deploy Hugo to GitHub Pages from a Private Repository
ru: Деплой Hugo на GitHub Pages из приватного репозитория
Want to publish your site on GitHub Pages from a private repository, but don’t want to pay for a GitHub Pro subscription? You can set it up so the site lives in a public repository and deploys automatically on every push, while the source code stays private. Here’s how I did it — a handy cheat sheet, essentially.
Of course, this won’t work if you store anything sensitive behind UUID (or random) URLs that shouldn’t be public.
This method works without Personal Access Tokens (PATs), which have the annoying habit of expiring. SSH keys are permanent, and GitHub officially recommends them for deploying to external repositories.
Public repository — the future home of your site
Create a new public repository on GitHub. Let’s call it username.github.io (for a user site) or username/public-repo-name (for a project). This will be the “face” — the GitHub Action will push the generated public/ folder here.
Generate an SSH key pair
On your machine, generate a key specifically for this deploy:
ssh-keygen -t rsa -b 4096 -C "for github pages deploy" -f gh-pages -N ""Flags:-t rsa -b 4096 — strong key,-C — any comment you like,-f gh-pages — the files will be named gh-pages (private) and gh-pages.pub (public),-N "" — empty passphrase, otherwise GitHub Actions will require an interactive input, which won’t work.
Keep gh-pages (private) to yourself. The public gh-pages.pub goes into the public repository.
Add the public key to the public repository
In the newly created public repository: Settings → Deploy keys → Add deploy key. The title can be anything, e.g. GH Actions Deploy Key. Paste the contents of gh-pages.pub.
Important: check the Allow write access box — without it, the Action won’t be able to push.
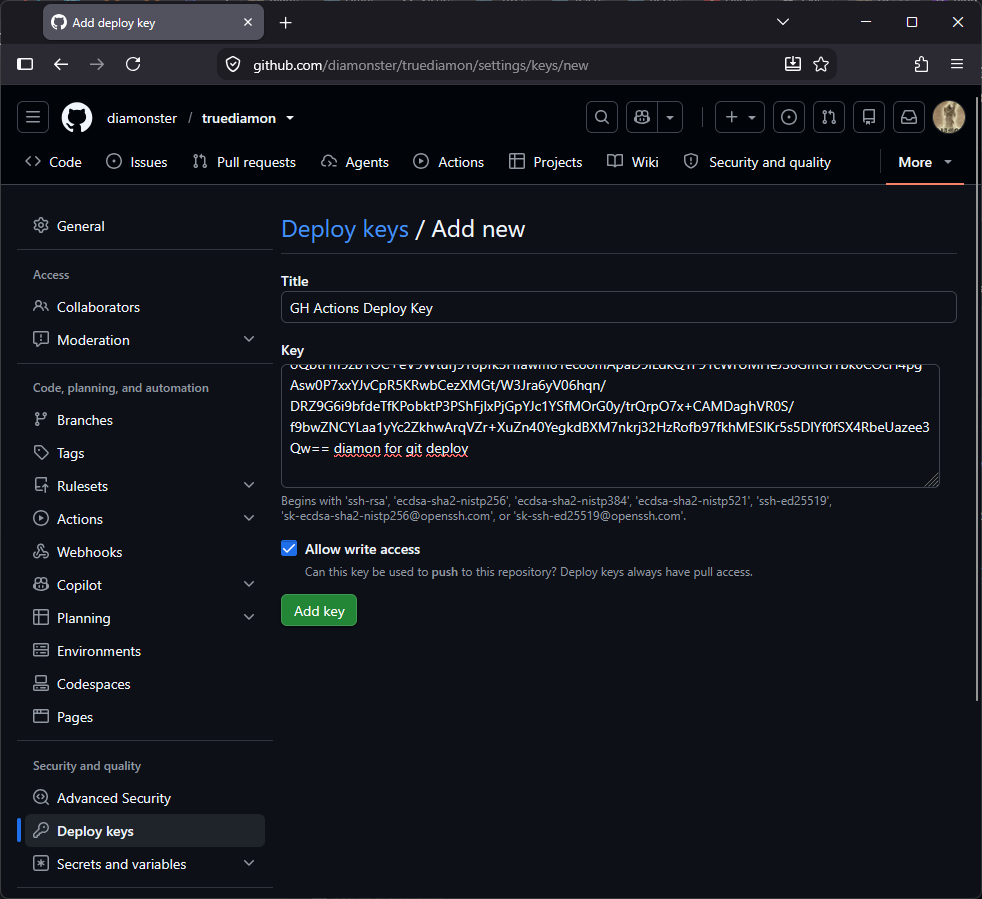
Click Add key. Done — the public repository now trusts our key.
Private key — into the secrets of the private repository
Go to your Hugo source repository (the private one): Settings → Secrets and variables → Actions → New repository secret.
Name: ACTIONS_DEPLOY_KEY
Value: the entire private key, including the header and footer lines:
-----BEGIN RSA PRIVATE KEY-----
...
-----END RSA PRIVATE KEY-----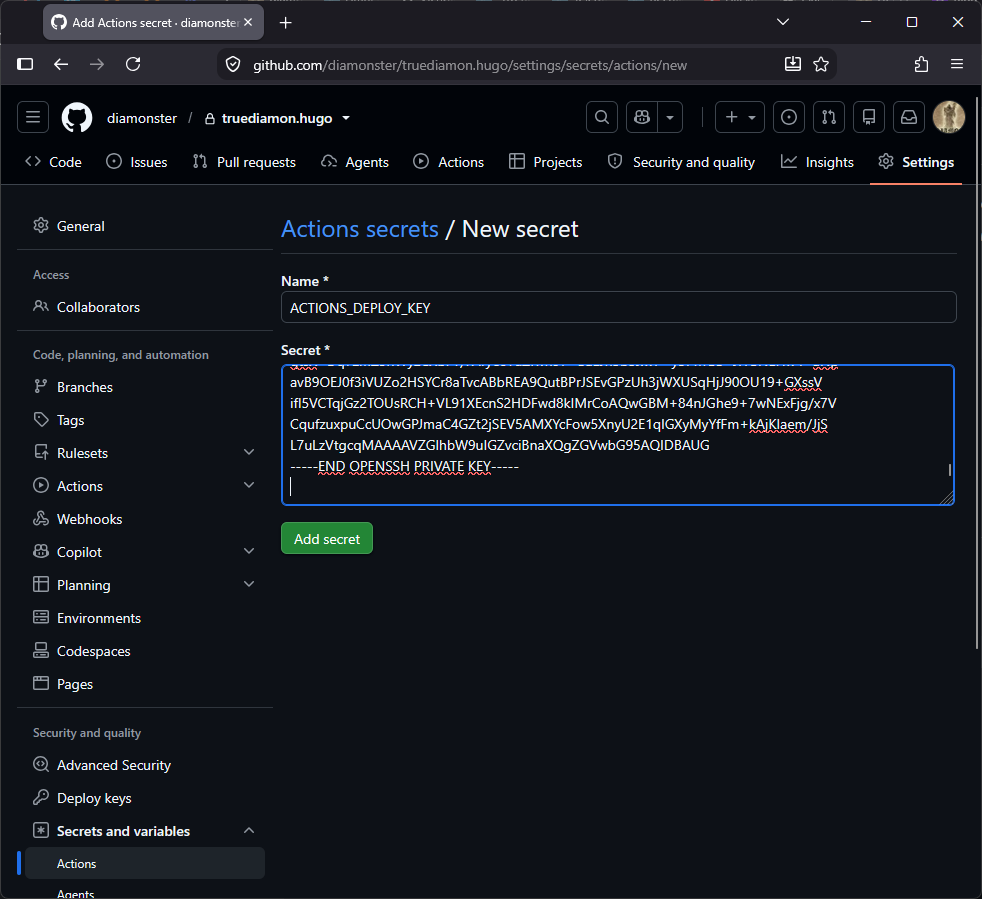
Save it. Now the Action has deploy access.
Workflow — build and push
In the private repository, create .github/workflows/deploy.yml:
name: Deploy Hugo site to public repo

on:
  push:
    branches: [ master ]
  workflow_dispatch:

jobs:
  deploy:
    runs-on: ubuntu-latest
    steps:
      - name: Checkout source
        uses: actions/checkout@v4
        with:
          submodules: true
          fetch-depth: 0

      - name: Setup Hugo
        uses: peaceiris/actions-hugo@v3
        with:
          hugo-version: 'latest'

      - name: Build site
        run: hugo --minify

      - name: Deploy to public repository
        uses: peaceiris/actions-gh-pages@v4
        with:
          deploy_key: ${{ secrets.ACTIONS_DEPLOY_KEY }}
          external_repository: username/public-repo-name
          publish_branch: master
          publish_dir: ./public
Things to pay attention to:
external_repository— set your public repository herepublish_branch— the branch you configured in Pages (usuallymasterormain)submodules: true— if your theme is a git submodulefetch-depth: 0— needed for Hugo to handle dates correctly (lastmod, etc.)
Enable Pages
Push to master in the private repository. Go to the Actions tab — the workflow should start running.
The generated site should appear in the public repository.
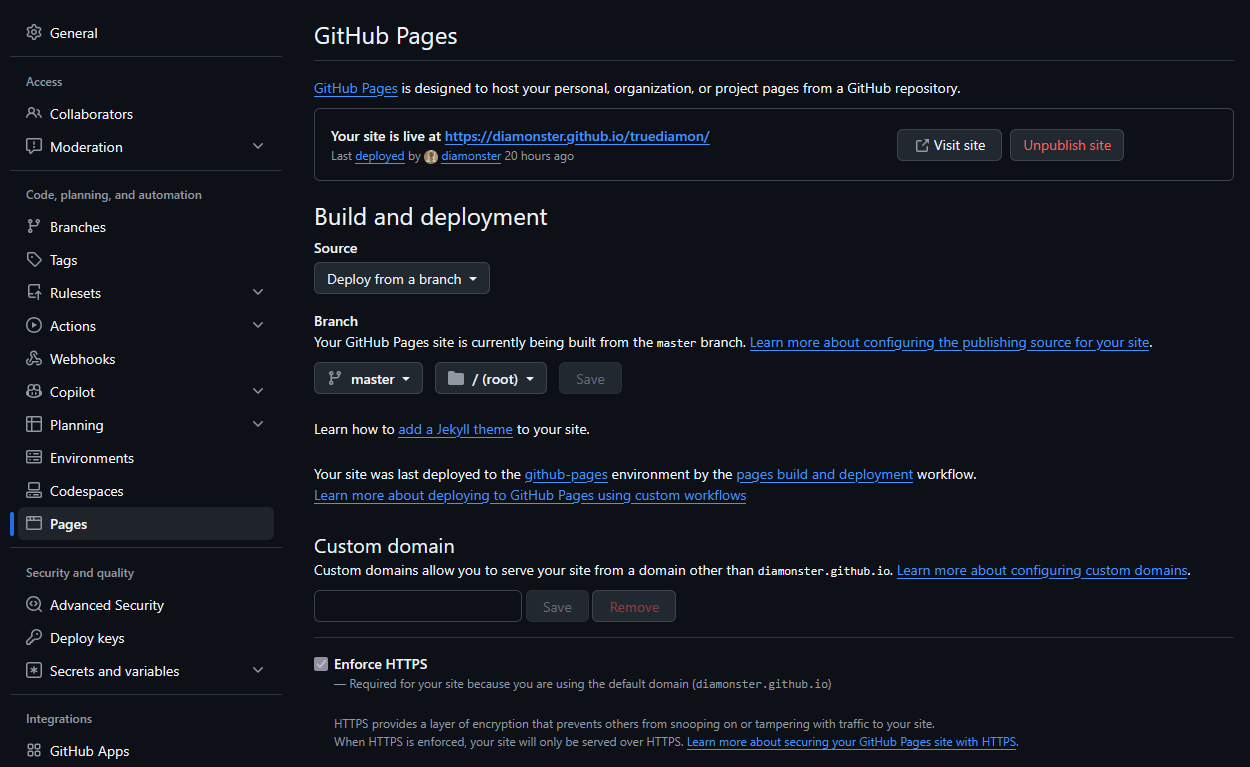
In the public repository settings, enable Pages: Settings → Pages → Source: Deploy from a branch, branch master (or main if you used that in the previous step).
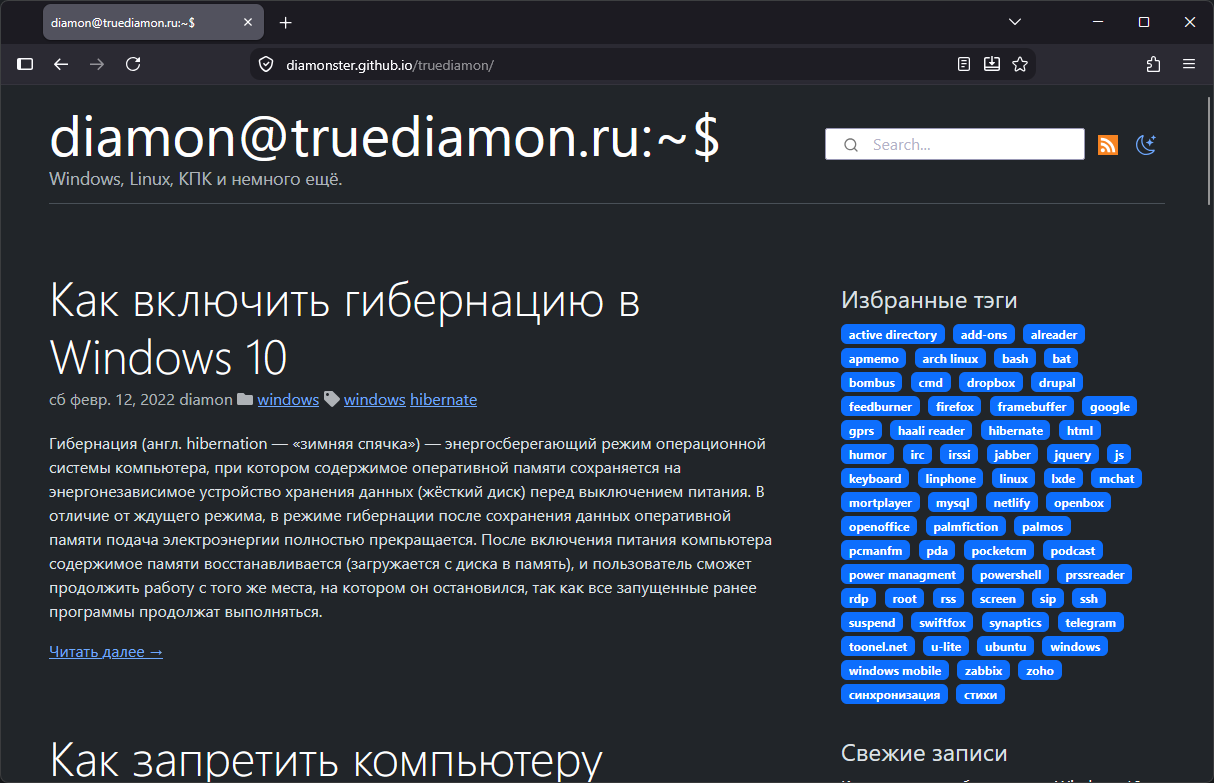
Verify
https://username.github.io/public-repo-name/— for a project sitehttps://username.github.io/— if the repository isusername.github.io
Custom domain — your own domain instead of github.io
Want blog.example.com instead of username.github.io? Takes a couple of minutes.
In the public repository: Settings → Pages → Custom domain — enter your domain (e.g.
blog.example.com), click Save. GitHub will create aCNAMEfile in the publish branch.At your DNS provider, add the records:
- For a subdomain (
blog.example.com) — a CNAME pointing tousername.github.io - For a root domain (
example.com) — A records pointing to the GitHub Pages IPs:185.199.108.153 185.199.109.153 185.199.110.153 185.199.111.153
- For a subdomain (
After DNS propagation (usually a couple of minutes), the Enforce HTTPS checkbox will appear in the Pages settings — enable it. GitHub will automatically issue and renew a Let’s Encrypt certificate.
Important: if you use Cloudflare, enable proxying (the orange cloud) only after HTTPS is working — otherwise the domain verification may fail.
Alternative: Personal Access Token (PAT)
If SSH isn’t an option for some reason, you can use a classic PAT.
- Create a token: Settings → Developer settings → Personal access tokens → Tokens (classic) → Generate new token. Grant the
reposcope (full repository access). - Add it as a secret in the private repository: name
PAGES_DEPLOY_TOKEN, value — the token itself. - In the workflow, replace
deploy_keywithpersonal_token:
- name: Deploy to public repository
  uses: peaceiris/actions-gh-pages@v4
  with:
    personal_token: ${{ secrets.PAGES_DEPLOY_TOKEN }}
    external_repository: username/public-repo-name
    publish_branch: master
    publish_dir: ./public
But SSH keys are preferred: PATs expire and need periodic renewal, while an SSH key — set it and forget it.
Things worth noting
GITHUB_TOKENdoes not work with other repositories — only with the one where the Action runs. So an SSH key or PAT is required.- PATs are convenient for one-off tasks, but they expire. SSH keys — set and forget.
- If your Hugo theme is a submodule, don’t forget
submodules: truein checkout, otherwise the build will fail with an emptythemes/directory. - Using Hugo
latestin the Action is convenient, but for production it’s better to pin a version (hugo-version: '0.165.0') to avoid unexpected breakage.
Now, on every push to master, the site builds and updates automatically. Source code stays private, the public side is clean and fast. Convenient, reliable, and — once set up — you never have to think about it again.